Create a New Course
Learn how to create a new course in Konstantly
Course Overview
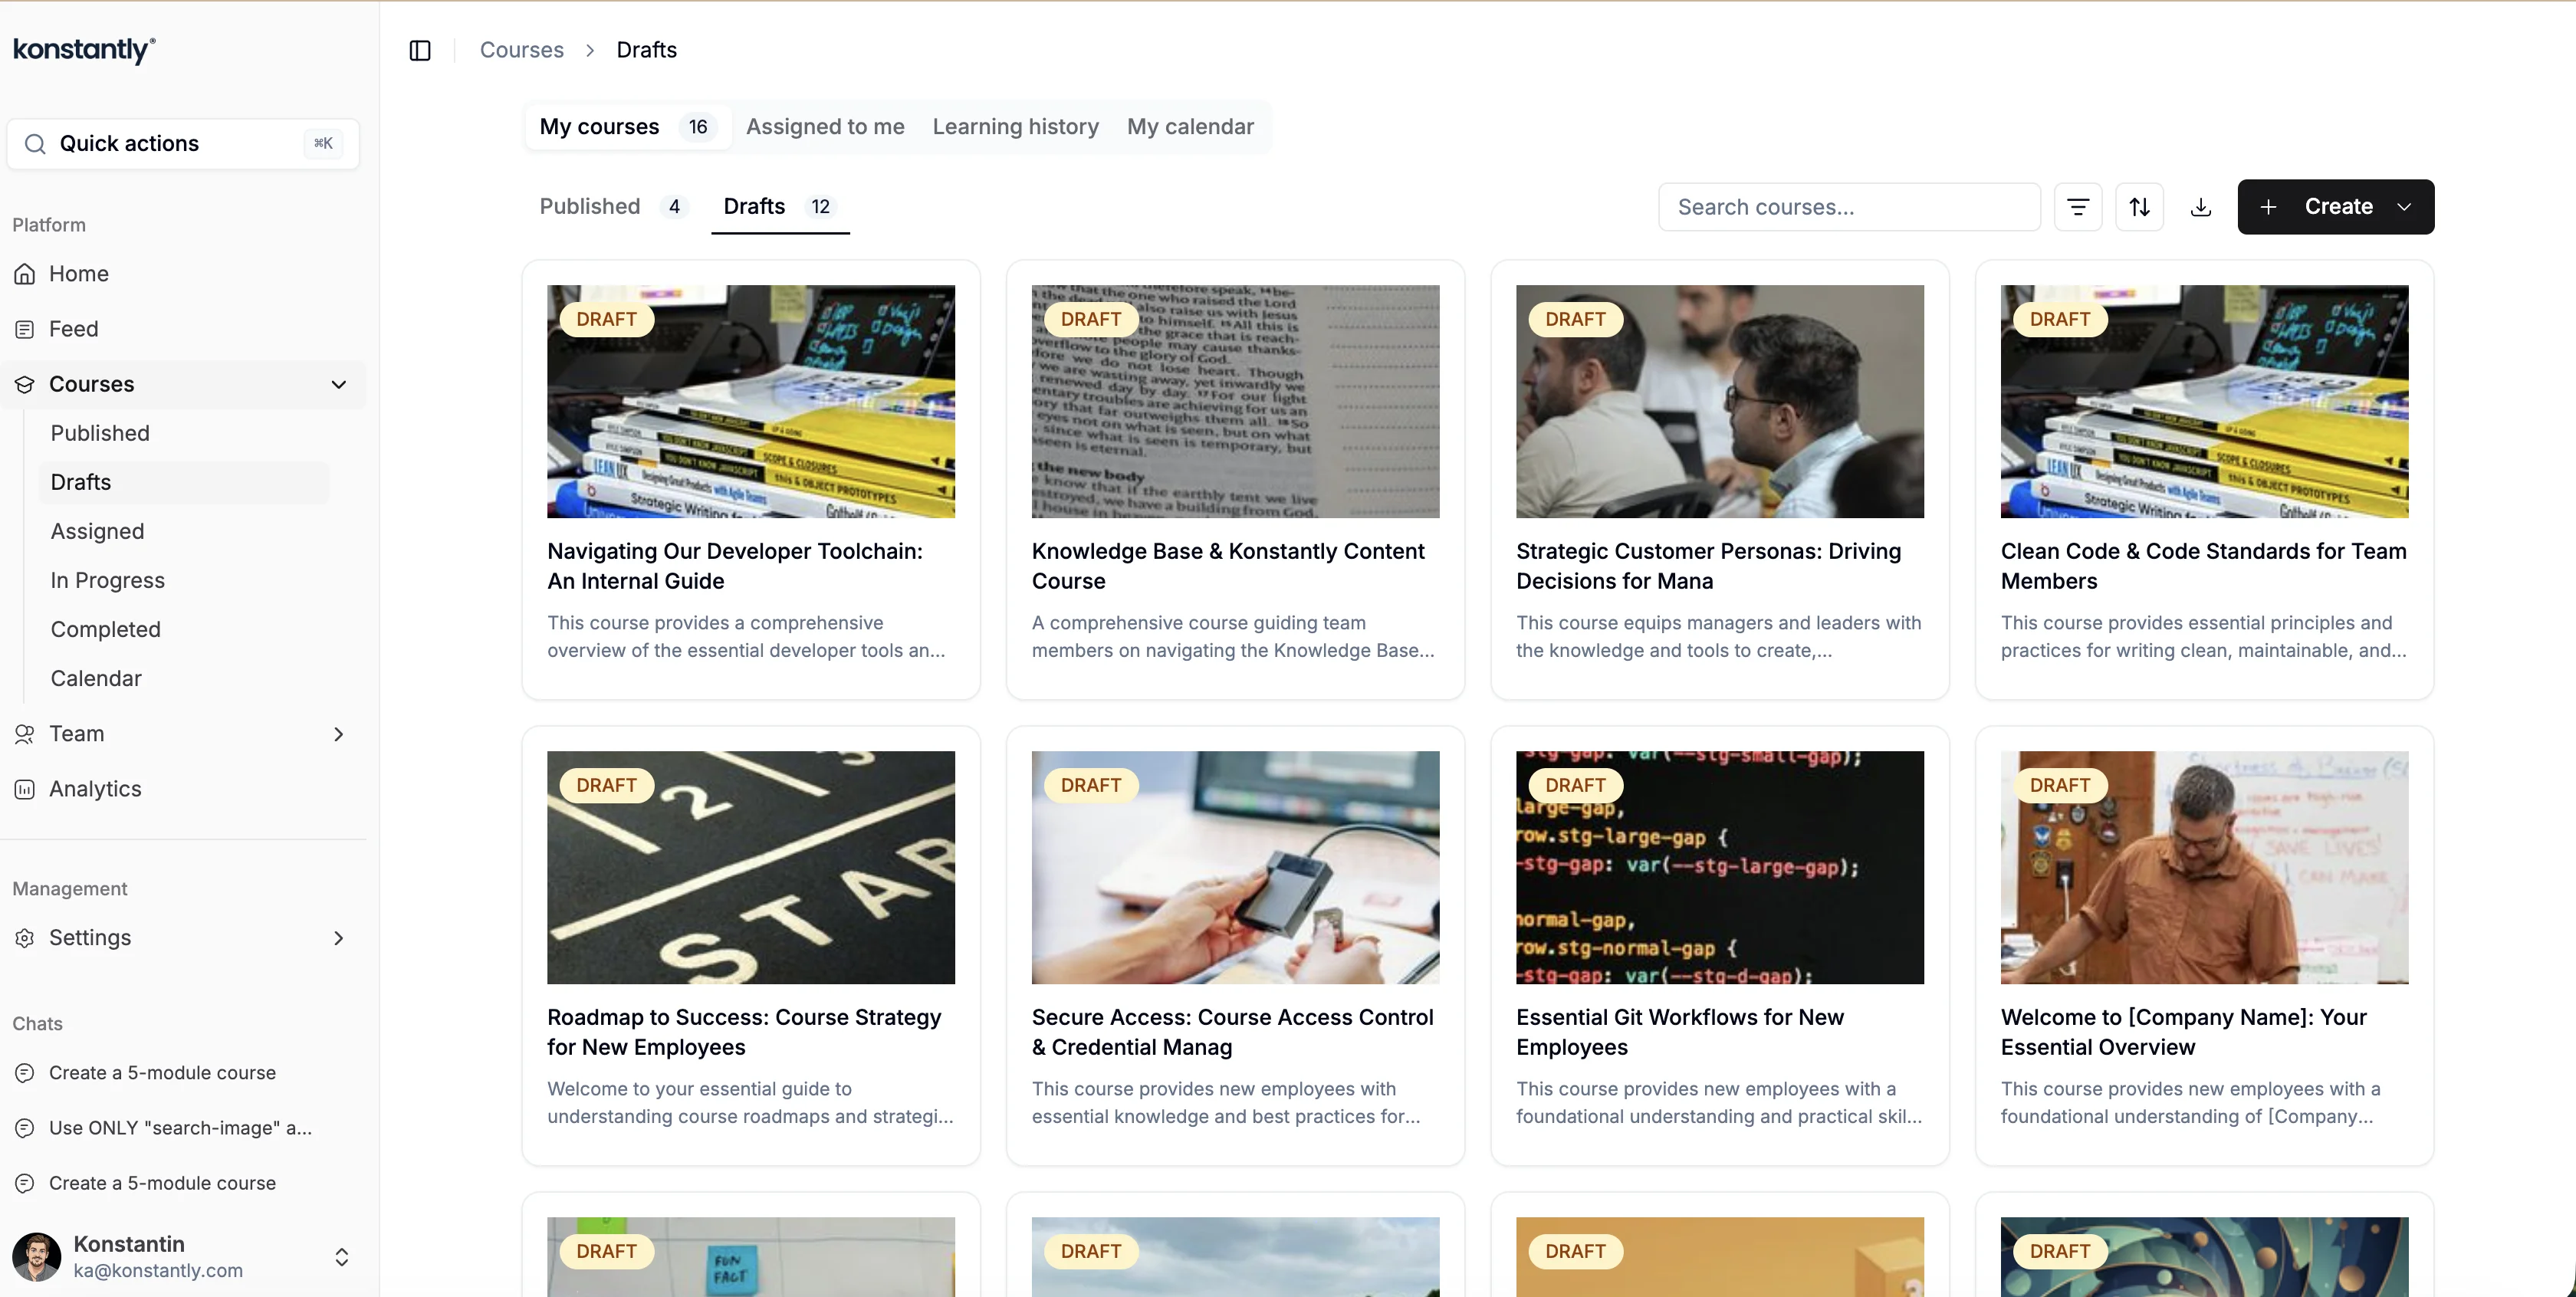
Being an Administrator allows you to see all the courses present on your Konstantly site both 'Published' and 'Drafts'.
Drafts are sorted by date – from the newest on top to earlier created on the bottom.
Published courses are sorted by the publishing date and time.
Creating a New Course
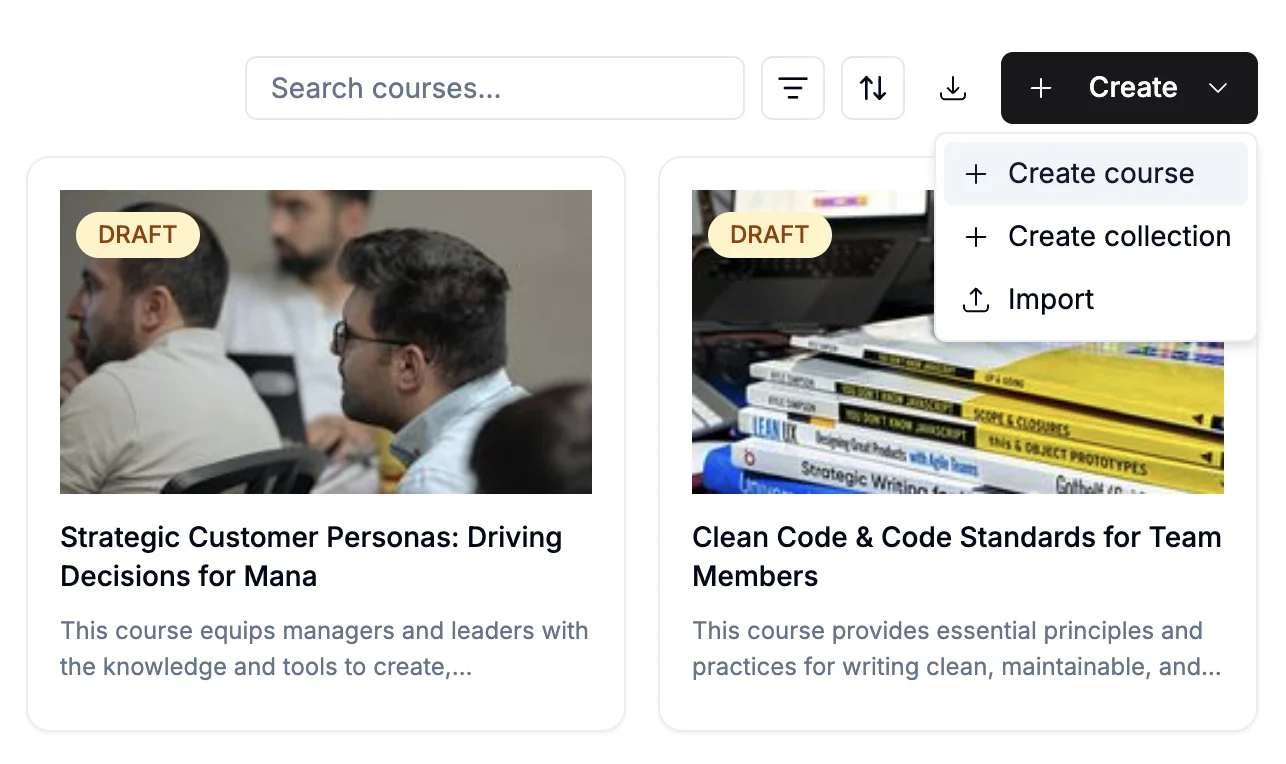
To create a new course open the 'Courses' tab and click '+Create' in the upper right corner. The dropdown menu will ask whether you would like to create or import. Choosing import, be aware that you can upload only previously exported Konstantly courses saved in a zip file.
Choosing 'Create Course' does not ask you for anything up front. Konstantly
creates a draft called Untitled Course straight away and opens the course
builder, so you start with your content rather than with a form.
Naming the course and adding a cover
You can name the course whenever you like. In the builder, click the course
title at the top of the page and type the real one. Naming a draft also starts a
cover image for it automatically, so a course you have only named still looks
finished in the course list.
Everything else about the course – cover, author, annotation, description and
attachments – lives behind the Course Details button in the builder. Open it
whenever you are ready; none of it is required while you are still building.
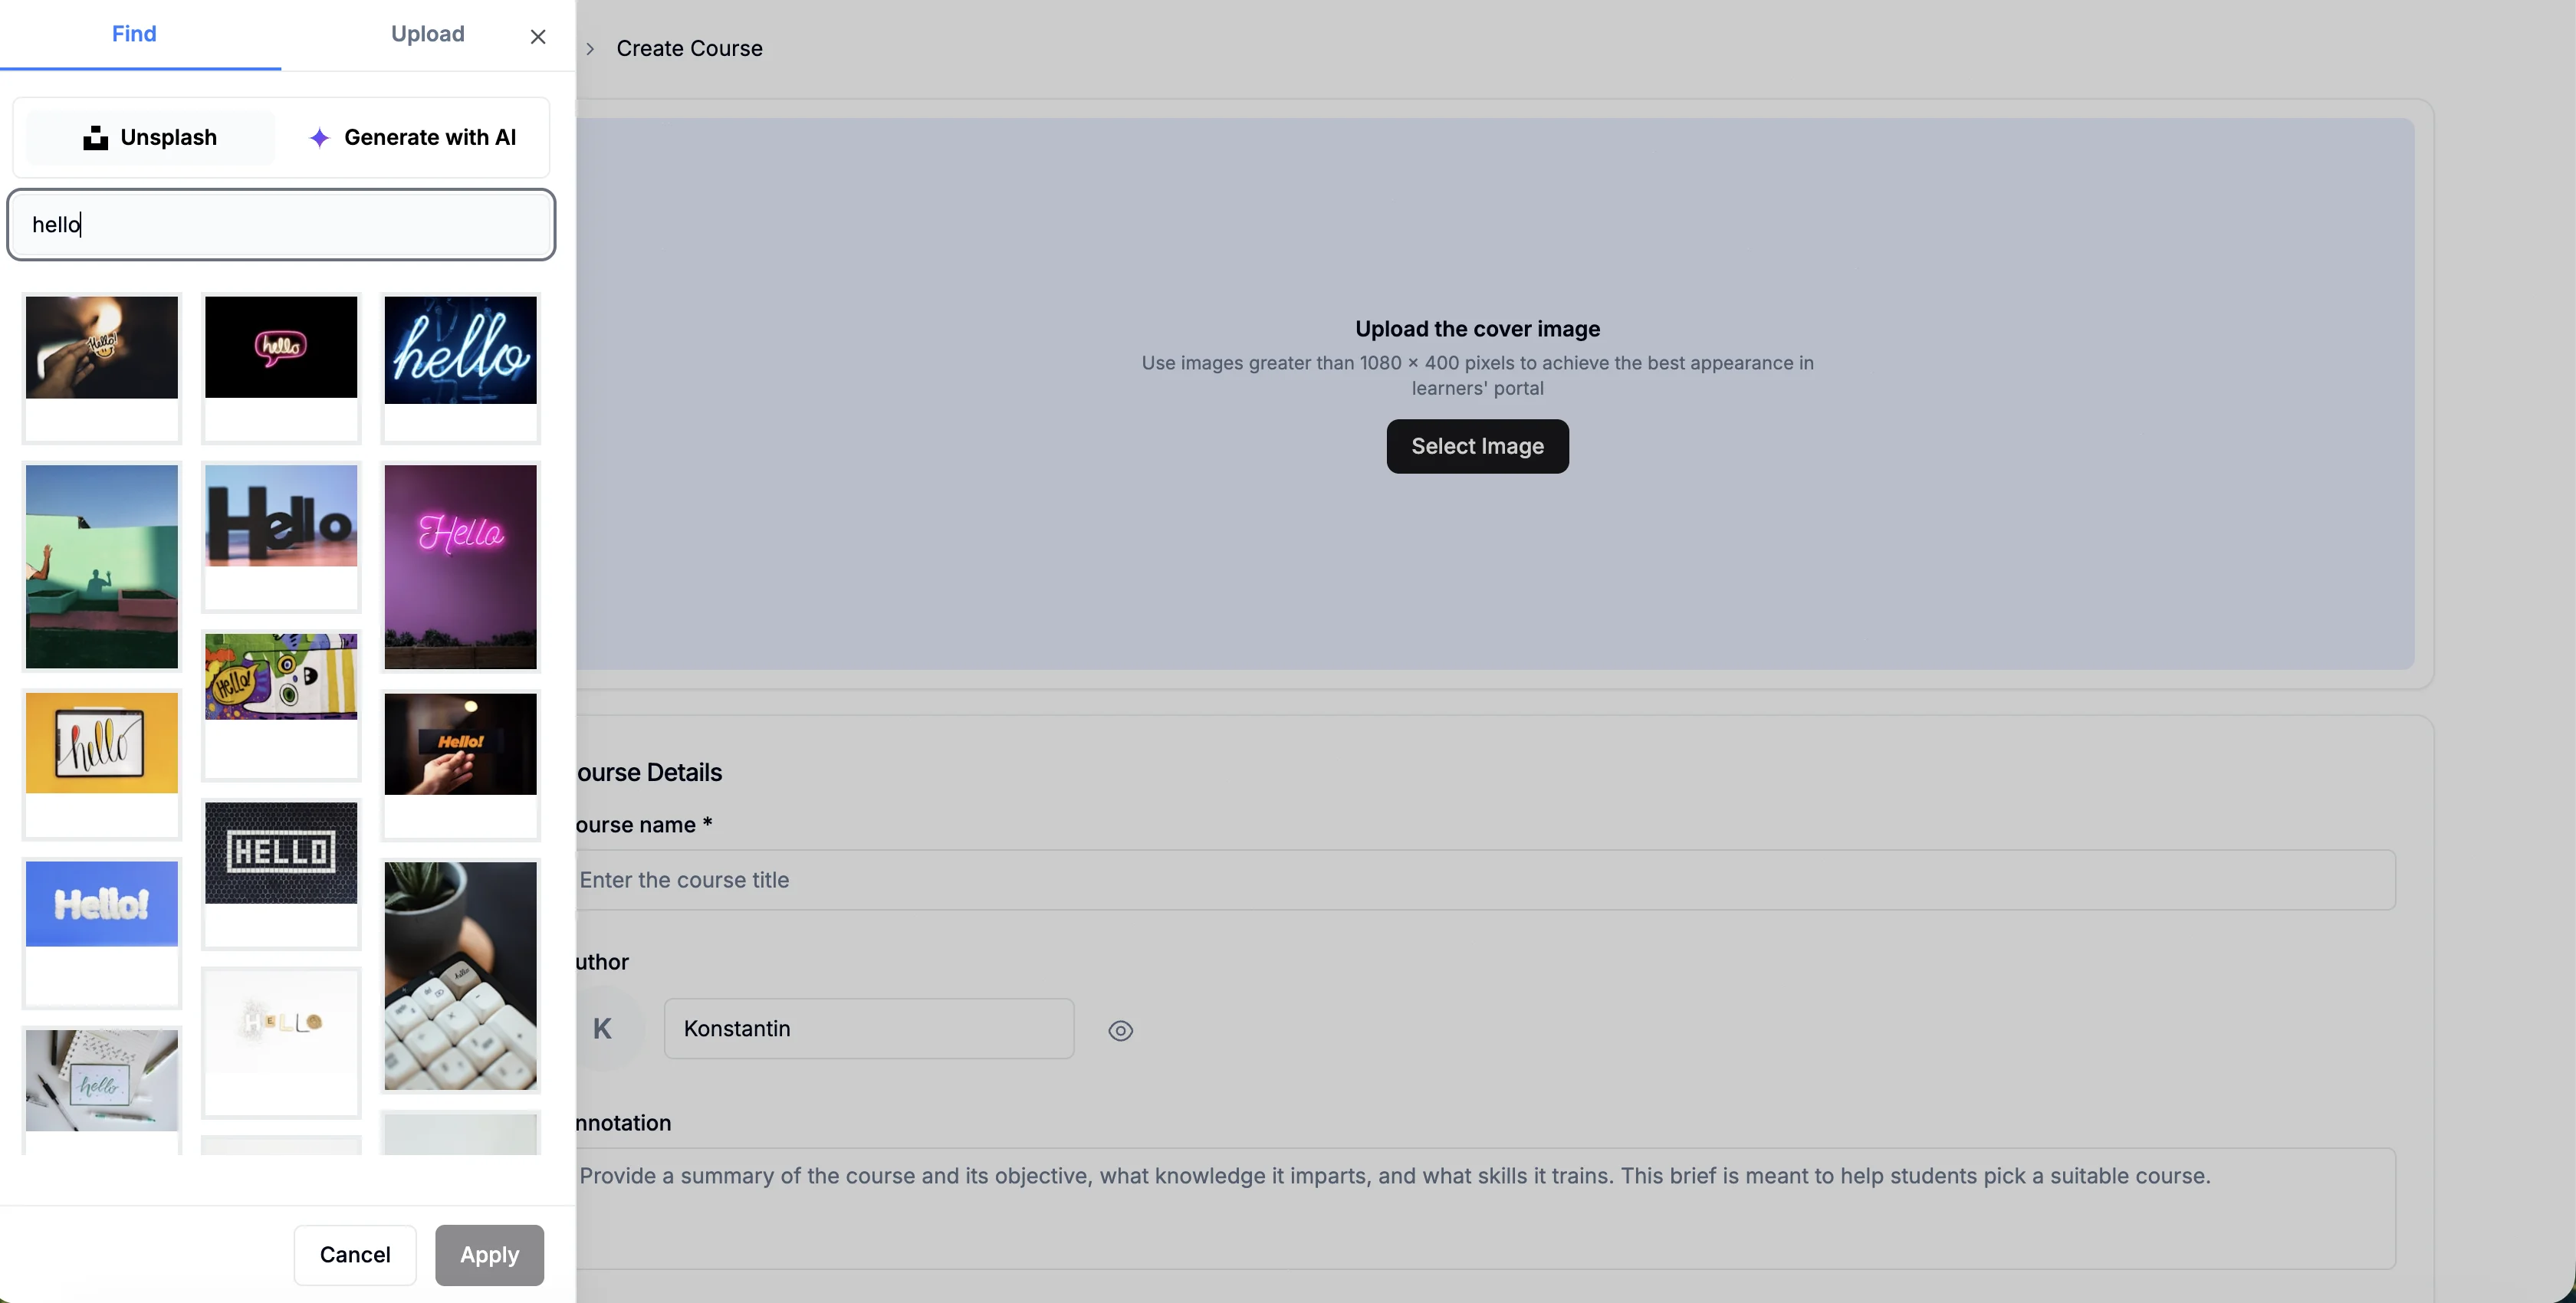
You can search for a cover image from Unsplash or generate one with AI by clicking Select Image.
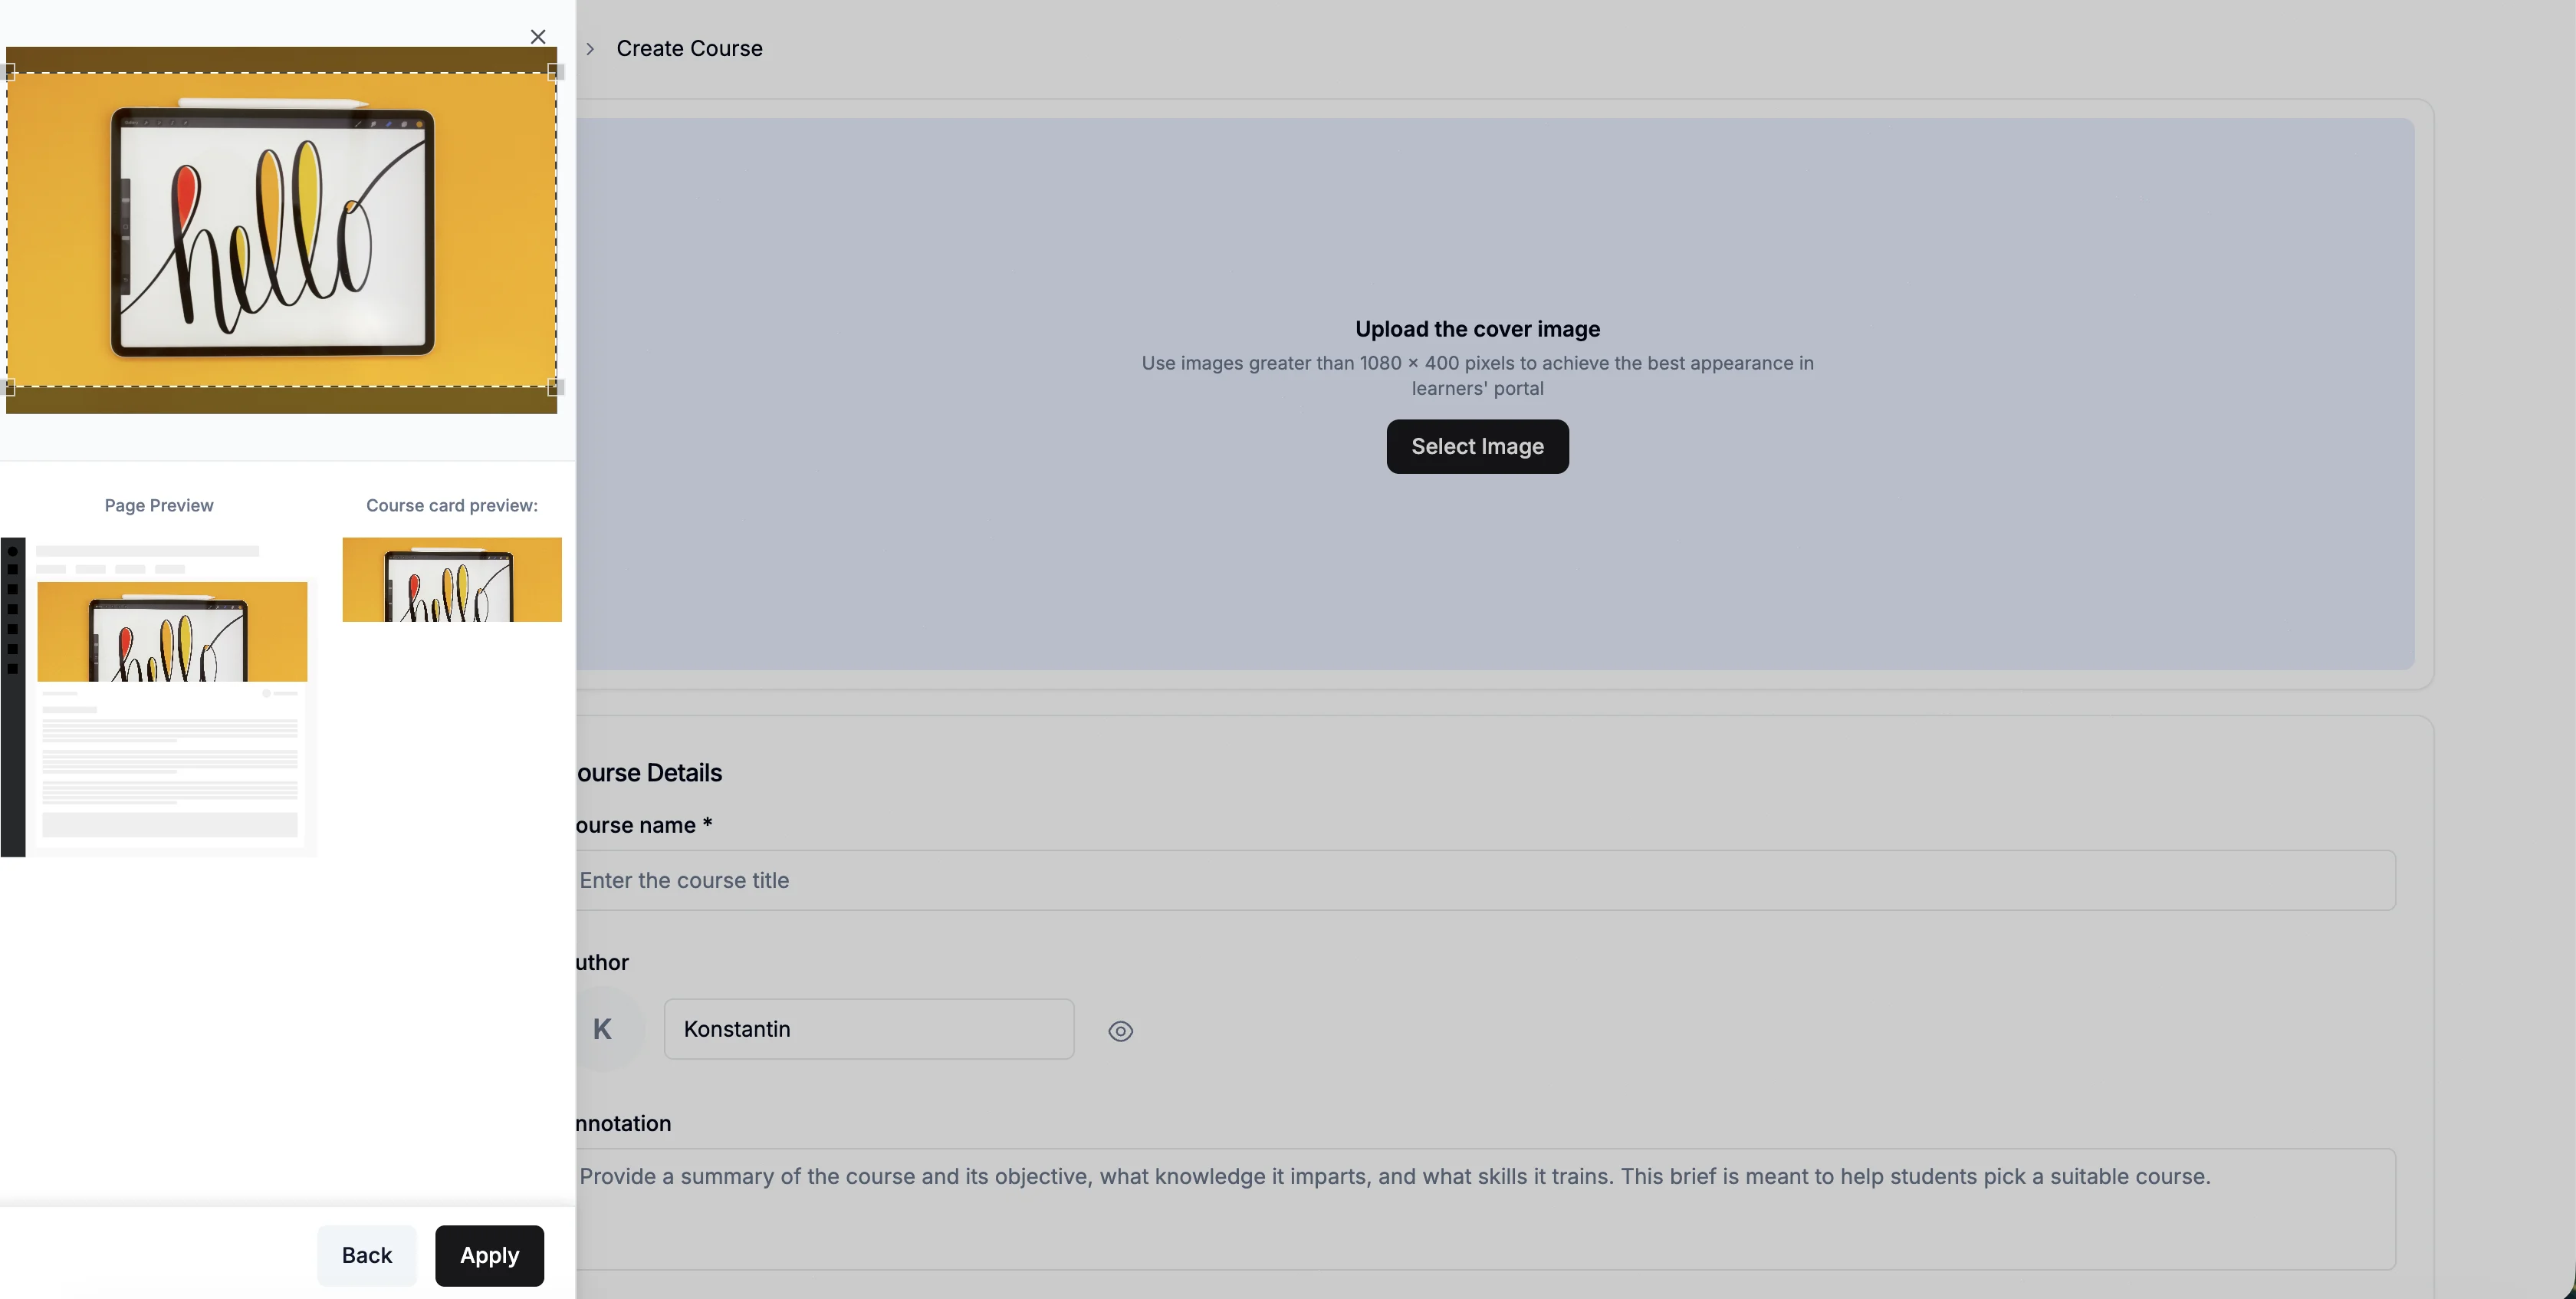
Once you've selected an image, you'll see a preview before applying it.
Publishing
The one thing Konstantly does insist on is a real title, and it asks for it at
the end rather than the beginning. When you press Publish, a
Ready to publish? dialog checks the title learners will see – the cover,
description and attached files stay optional. A course still called 'Untitled
Course' cannot be published until you give it a name.
Landing Page
Landing page contains all the information about the course, so make sure to fill here all the important information. In the list of courses learners will only see the cover, the name and the annotation, so it shouldn't be long, but in one sentence should give an idea what the course is about.
Course description can be longer, so don't forget to mention the approximate duration of the course, the names of authors, materials used and additional materials that can be helpful during or after the course. You can edit all of these fields by pressing the icon at the top of the page and then Edit.
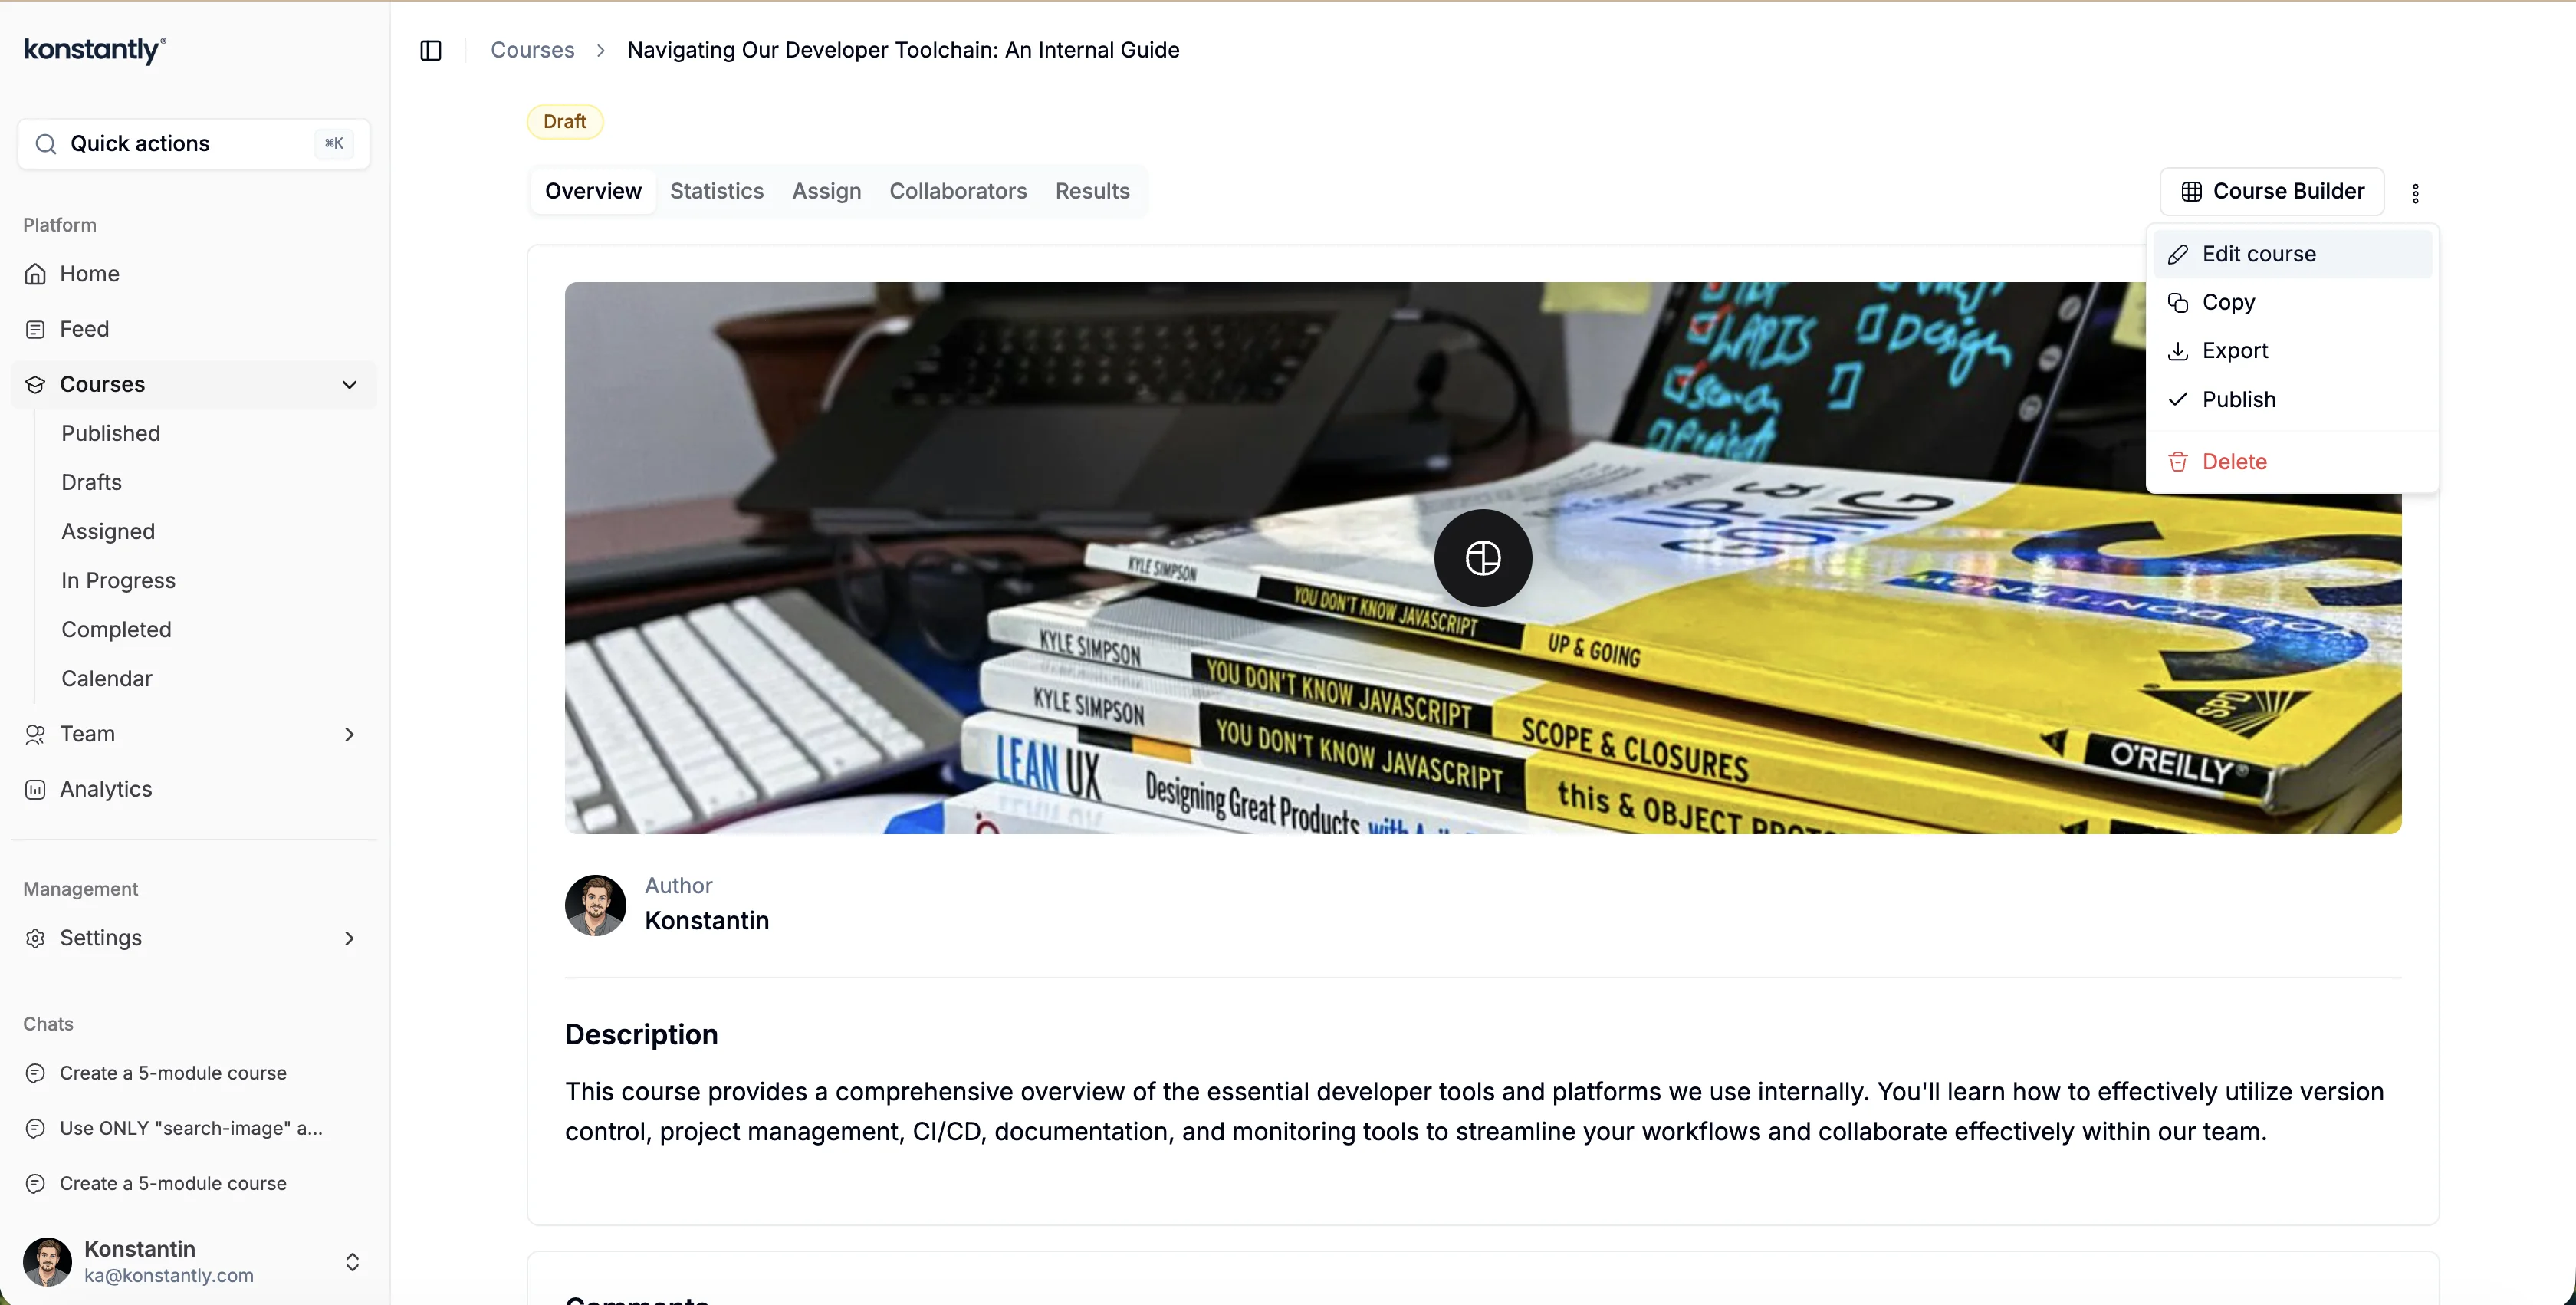
On this page you may also attach documents, images, videos and any other types of files related to the course for the assigned learners to download. Simply click in the same dropdown menu.
Course Building Modes
You do not pick a mode when you create a course. Every new course starts
linear: a step-by-step sequence learners work through in order. That covers
most training: onboarding, compliance with required steps, anything where
everyone follows the same path.
Best for:
- Simple onboarding courses
- Compliance training with required steps
- Sequential learning where order matters
Adding branching
When a course needs pass/fail routes or personalised paths, you add branching to
the course you already have. In the editor, the linear view offers **Add
branching** – the one place the structure changes, and it converts what you have
built rather than starting a different kind of course.
Branching opens the visual canvas: elements sit on a map, you draw the
connections between them, and a route can depend on how a learner performed.
Best for:
- Courses with pass/fail branching after assessments
- Personalized learning paths based on quiz results
- Complex certification programs with prerequisites
- Interactive scenarios with multiple outcomes
Going back to linear
A branched course can return to linear, but only when nothing would be lost – so
the option appears only when the conversion is safe. If the course uses elements
or routes that a linear sequence cannot express, Konstantly tells you which ones
are in the way instead of quietly dropping them.
AI Course Creation
You can also create courses using Ask Konstantly – the AI assistant. Simply describe what you need and the AI generates the full course structure with content.
Ask anything...
Course Actions
As for the other options in the menu, they will allow you:
- Copy – a copy of this course will be created available for editing. The course will appear on the top in the drafts list with the name "Copy. –Name_of_the_course-"
- Export – the course will be downloaded to your computer as a zip file. It can be imported back to this or another Konstantly site only
- Delete – this option is available for the draft courses only, you will need to unpublish the course in order to delete it. Deleting will erase all the statistics regarding this course from users', groups' and site's statistics